
A step-by-step tutorial teaches how to draw an excellent mockingbird with simple drawing ideas. You can now easily create a great design from Mocks. Mockery birds in the literature have many fictional allusions. The most famous is Harper Lee’s novel 1962 affects a Mockingbird novel and its cinematic adaptation 1962. The novel, which American and secondary American students often read, speaks about rape, racist inequality, and lost innocence. We think that the mocked bird that should not be killed is the idea of innocence that can be destroyed by evil.
Another literary allusion is the Mockingjay series of the Hunger Games series by Suzanne Collins. Spottjayons are mocking hybrids and genetically modified jabber jays that could remind and imitate human language. Mockingjay is a layout device; It becomes a symbol for increasing the rebellion. Mocking birds were used in art and popular culture. The animal is the official state bird of Arkansas, Tennessee, Texas, Florida, and Mississippi.
Drawing a mockingbird
Step 1:
First, start with the bird’s head. Use curved lines to draw the head’s lid and the neck’s deception. Let the lines hit at a sharp point, hang up a bit, and form the beak. Draw short lines and drive at the neck’s base to display the feathers’ texture.
Step 2:
Use long curved lines to continue the shape of the base of the neck. Draw your back and chest of the bird.
Step 3:
Sketch the upper part of the wing of the mocked bird. Use a long curved line to form the front of the wing and double it at the top. Then use several curved “U” U -defined lines that overlap to display the first row of feathers.
Step 4:
Expand the wing with a long curved line and double it at the top. Run a short line, followed by another long line doubling the tip. Use some connected “U” “U” lines to complete this wing part.
Step 5:
Expand a long curved line of the bird’s back and double it to yourself to form your tail. Connect it to the wing with a few lines of the “U” shape and write it with curved lines above its length.
Step 6:
Draw the leg of the mocked bird. Use almost parallel curved lines to outline the upper leg. Note that the lines are further away, where the leg is on the body. Then use “U” lines to draw the front toes and backward.
Step 7:
Connect the higher leg with a curved line with the wing and completely include the bird’s body. Then use a few curved lines to outline the remaining leg.
Step 8:
Draw the eye of the mocked bird, a small circle that contains a smaller shaded circle. Then give your head, body, wing, and tail the texture of the feathers by drawing a series of short and closely distributed lines.
Step 9:
Draw a branch so that the bird can rest. Use a few distributed curved lines to adapt between the bird toes. Draw a twisted “V” fishing line at the end of the AUT to display branches.
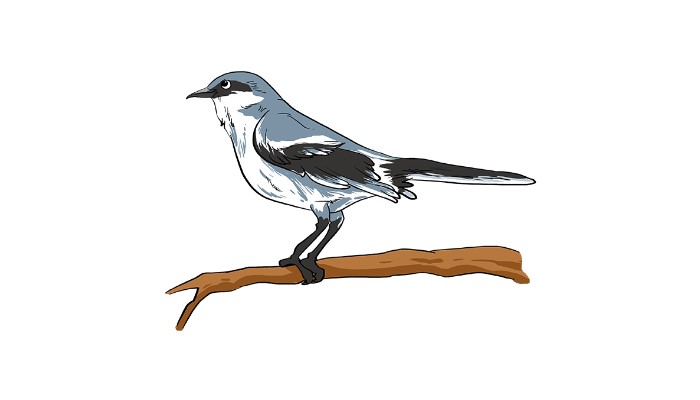
Step 10:
Color your mocked bird. The northern ridicule is the most common type in North America. It has a cream made of cream, a gray-brown back, wings, and a cock with black and white markings.